Thursday, September 22, 2011

New Camera - New Pics!

I just picked up a new camera, so what better time to post new pics, Right?


Sunday, September 18, 2011

Some Changes

Since My last update, I've installed an Innovate Wideband LC-1 and XD-16 gauge, went back to the stock, but refinished console, and modified the air intake system.

First, the engine bay:

Its been wire tucked, and detailed a bit but there is a lot more I'd like to do to clean it up. The important part here is the intake. Inspired by the Bell Engineering (A.K.A. BEGi) Cold air box, I fabricated a cold air box using my die grinder and some thick aluminum sheet I had laying around. I also used a small K&N cone filter and a 45 degree elbow from siliconeintakes.


The idea here is channel air from the gap between the headlight and hood into the box, while blocking out harmful radiator and header heat, all without too much mass which can "sink", or "soak" heat into the metal. The more mass is increased, the more heat the metal will retain, and here we want to reflect and not absorb it. The results so far have been good, while in motion air intake temps are within 5-10 degrees within ambient... I will get this number lower and I'm not afraid to cut into the hood if I have to. The temperature does creep up drastically in traffic, so the next step is to make a heat shield for that header. Also, there is still plenty of detailing work to do but its a great start to a cold air intake that actually works.


And for the inside.. "refurbished" stock console replaced. Not as pretty as the Nakamae, but far more functional.

... And the XD -16 gauge. It's nice to know your AFR's, even when naturally aspirated. Using the wideband, I've been able to greatly improve the tune.

And finally... a nice looking ride


Thursday, June 16, 2011

Mobile site enabled

Now when you view the blog on your mobile phone, you should get see the mobile version. Enjoy!

Thursday, May 5, 2011

Deals Gap Miata run video

how about a break from this "ancient history" Here's a Youtube video I shot during a recent Club Roadster at the Gap meeting, chasing my friend Bryan's nice '02 Laser Blue.

Saturday, December 18, 2010

Bumper Repainted!

Here are probably the latest pics I have of the exterior, from the summer of 2008. I really, really need some new ones. Also the bumper was repainted, and KG Works TSI's from Japan were added. Ignore the for sale sign, I ended up not selling the car fortunutely.

Photobucket

Photobucket

Since this engine photo, more wire tucking has been done.
Photobucket

Nakamae Console

While waiting for the new OE bumper to get painted I picked up this sweet Nakamae console from PhatMiata on clubroadster. Handmade in Japan and very hard to find! Also not the center console with the iPod dock. I made that earlier on during the interior swap. There is no headunit, just a dock connector adapter running to a JL Audio RLC-1 preamp, and then to an alpine amp.

Photobucket

Saturday, November 13, 2010

whoops! Smacked a guardrail

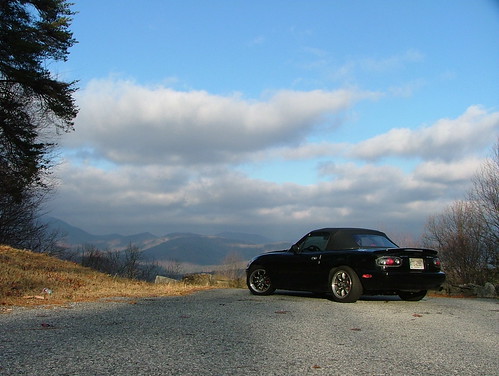
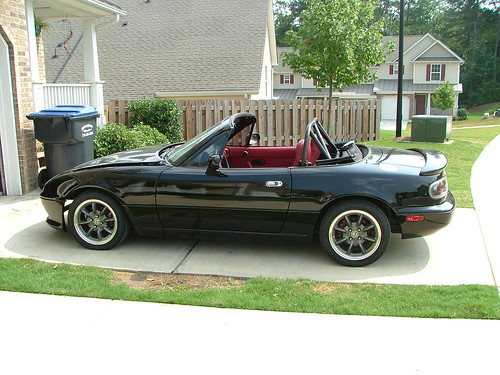
We are still in 2007, so please bear with me here. I used my new found power to go tear up the mountains on a path we call the "snake run: in GA. I (not so smartly) ran E-bay coilovers with the same rates front and rear which was very fun for sliding around, but not so much for the mountains.

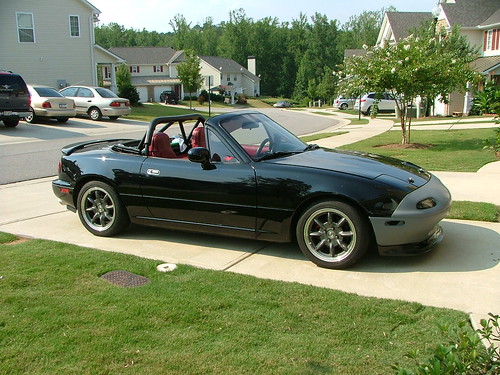
it happened right after I took this:

DSCF2310

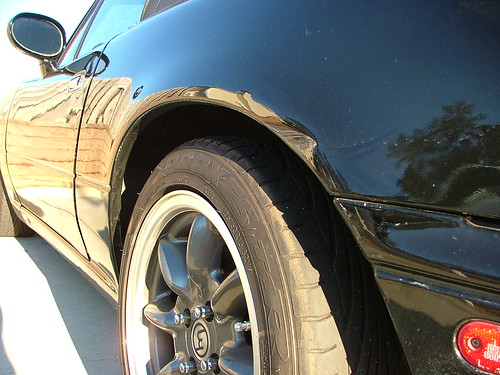
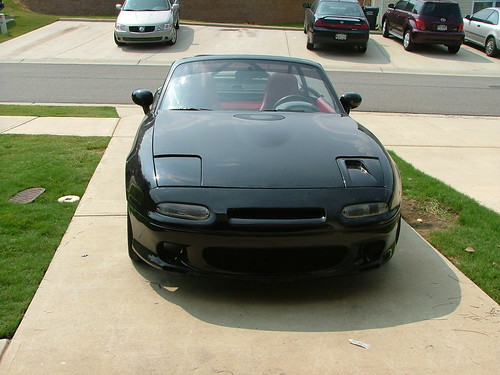
cracked the beautiful RS Aizawa bumper, one of only a few in the U.S.

DSCF2315

DSCF2314

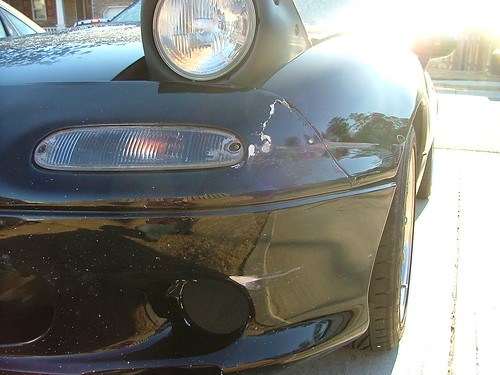
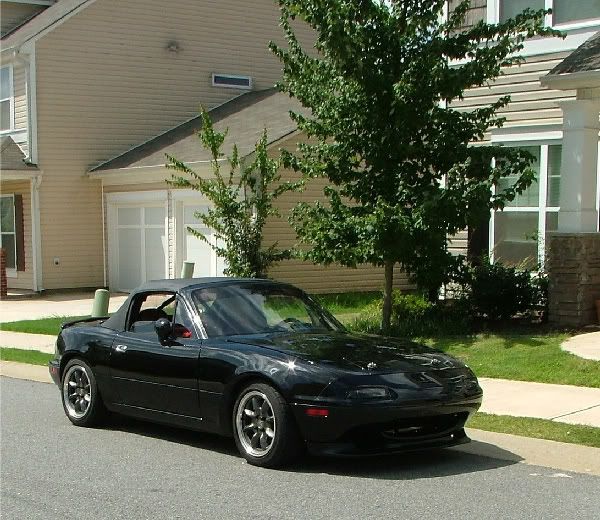
After this happened I decided to go for a more conservative look. I sold/partially trade off the front bumper for a nice used Laguna Blue OEM one with R-lip, a few hundred bucks, and a cold air intake, which was a dumb move in the short term, but in soon after installing it I hit a mop bucket at 70mph destroying the lip and the bumper. Had I still been using the RS Aizawa one, it would have been destroyed forever. I picked up a new OEM bumper.

DSCF2603

DSCF2599

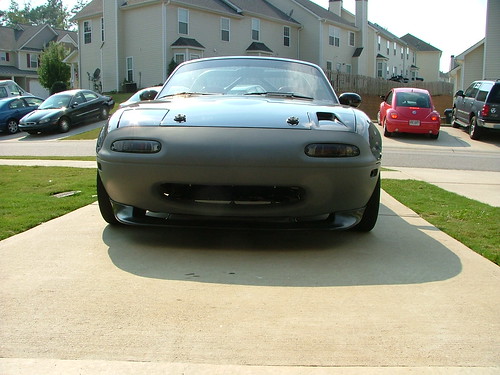
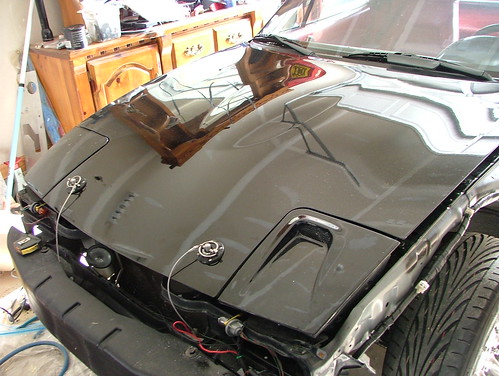
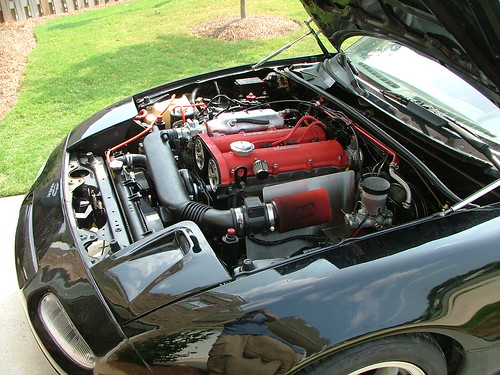
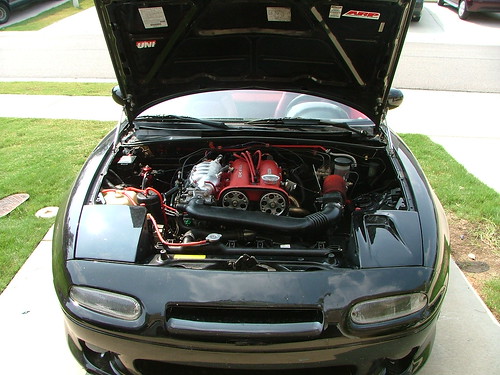
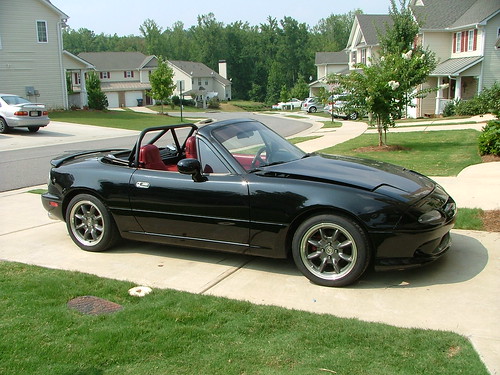
The hood latch busted, so I went with billet pins from a Shelby Mustang, this was taken just after install.

DSCF2580

Tuesday, November 9, 2010

MegaSquirted!

Now that the car had a great engine it was time for management. Once significant changes are made to the engine, the stock ECU leaves a ton of power on the table. It just so happened that at the same time I needed a real, stand-alone engine management solution Jerry from DIY AutoTune - a leader in MegaSquirt EMS was looking for a beta test car for their upcoming MegaSquirt PNP (MSPNP) for the 96-97 miata. This was a great solution for guys like me who don't want to hack up thier wiring harness or use a soldering gun. Just remove the stock ECU, plug in the MSPNP and run a vacuum line, and that's it, youre ready to tune!

After several weeks of development I recieved a call from Jerry that the car had been on the Dyno. The new engine made a unimpressive 120rwhp and 107 ft/lb of torque on the dyno. (dont' have that dyno sheet) On the Megasquirt, it made 127 hp/121 ft/lb of torque, without VICS enabled and a crush-bent flowmaster exhaust. Later I came back with NB injectors at 70psi, an Enthuza Exhaust, test pipe, and the VICS operational. The car made 130rwhp, and a much more impressive 127.5 ft/lbs of torque

Photobucket

Sunday, October 24, 2010

Engine, interior completed!

DSCF2268

DSCF2267

DSCF2266

DSCF2264

DSCF2263

thats a hood riser, don't worry, it does not last long!

DSCF2262

1993 LE interior goes in

Pimp'n gauge cluster

DSCF2138

Here it is going in, don't worry, I decided against the red gauge hood later.

DSCF2133

DSCF2132

DSCF2131

unnecessary wiring

DSCF2152

fitting the carpet
DSCF2164

rollbar goes back in

DSCF2176

coming together!

DSCF2225

DSCF2224

DSCF2227